Contents
Building a Bird Feeder: The Ultimate Guide for Beginners & Kids
Introduction: What is a Bird Feeder and What Benefits Does it Have?
Looking for a fun project that even the kids can help out with? Building your own bird feeder is a great beginner woodworking project that’s both kid-friendly and rewarding! With some basic woodworking tools, you can create a beautiful and functional bird feeder that will bring birds to your backyard for years to come.
How to Choose the Best Wood for Building a Durable & Long Lasting Bird Feeder
Building a bird feeder can be a fun and rewarding project, but it’s important to use the right materials. If you want your bird feeder to be durable and last for years, the best wood to use is cedar. Cedar is rot-resistant and has natural insect repellent properties which make it an ideal choice for outdoor projects such as this one. With proper construction, a cedar bird feeder can provide birds with food for many years.
Material list
- 1 cedar picket
- Speed square
- Tape measure
- Miter saw or table saw
- 2 small hinges for the roof
- Type 3 wood glue (optional)
- A wood clamp
- Finishing nails
- Hammer or brad nailer
- Galvanized wire
- 2 eye hooks for hanging the bird feeder
- 2 eye hooks for hanging the bird feeder
Step 1: In this step we’ll be cutting the base for our bird feeder. From the square end of the cedar fence picket measure 8.5 inches and draw a line all the way across using a speed square. Use the miter saw to cut across the line. If you don’t have a miter saw, a table saw will do as long as you have a crosscut sled or a miter gauge.
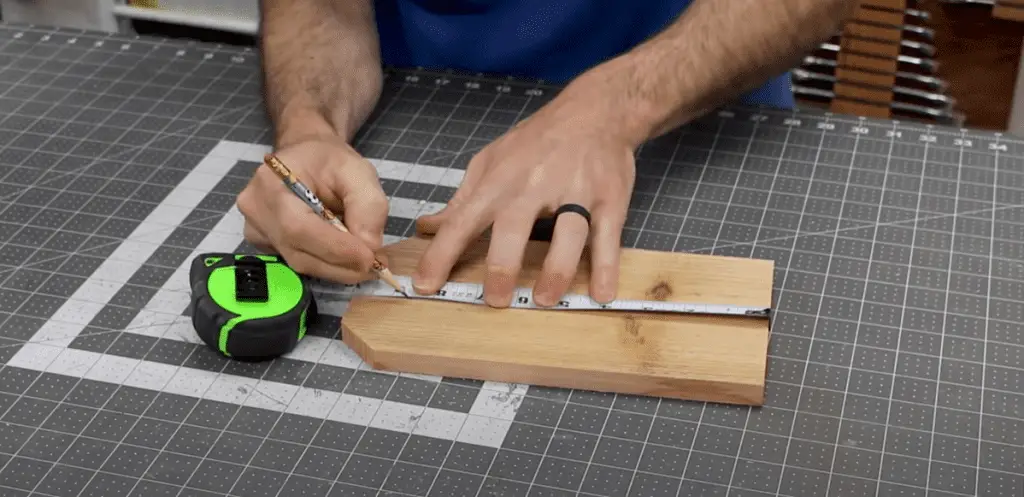
Step 2: For sides we need to make 2 cuts from the cedar plank that are 7 inches long. Like you did in step 1, measure 7 inches and 14 inches from the square end of the plank. Draw your lines and cut with whatever saw you used in step 1.

Step 3: Once you have those 2 pieces cut to length, we need to draw 2 twenty degree angles on each top edge of the sides. I think the easiest way to do this is to find the center point at one end of one of the sides and mark with a pencil.
Using a speed square line that mark up with the twenty degree mark on the square and draw a line. Repeat that process for the other side of the same board. Now you can do all of that with the other side piece if you want. Another option is to take the piece that has both angles and line it up on top of the other piece and cut both pieces at the same time. This’ll cut down on time and is more accurate.

Step 4: In this step we cut two pieces to better secure the sides and to keep the bird seed in the feed. Go back to the cedar picket and measure five inches and another at ten inches. Make a line at both marks and cut. Once that’s done go back and measure across the width of the two pieces and make a mark at four and one fourth inches and make the cuts.
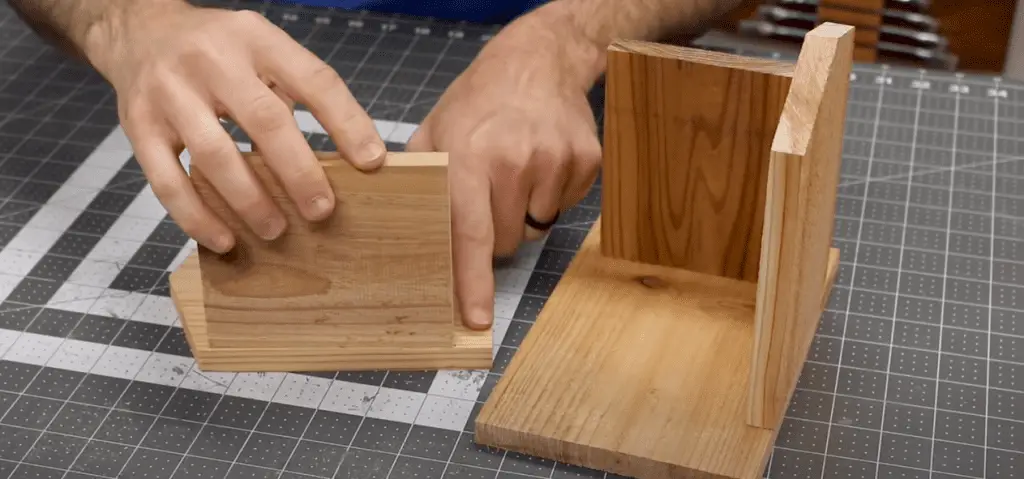
Step 5: The next part is to cut the two pieces out for the roof. Go back to your cedar plank and from the square end make a mark at eight inches and sixteen inches and draw your lines across the plank and cut. You should have two pieces that are eight inches.
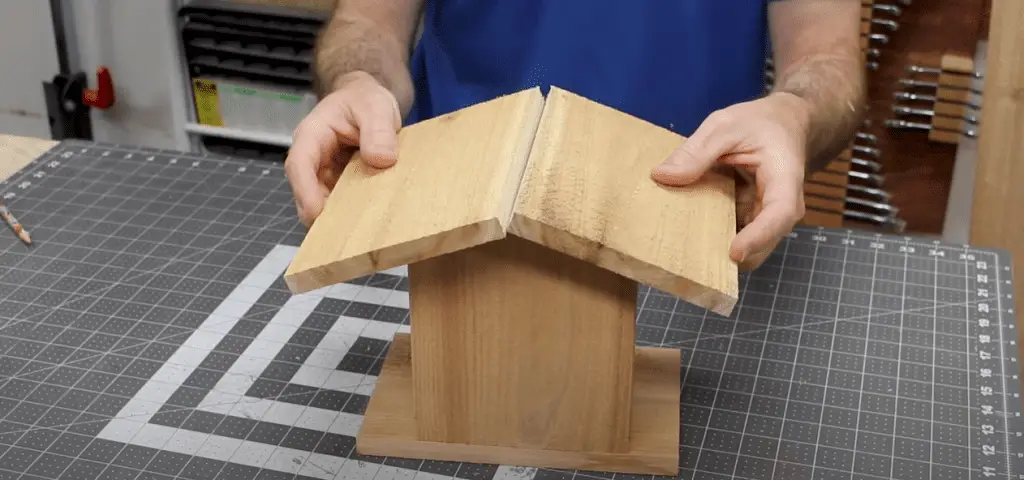
Step 6: When you lay your roof pieces across the top of the bird feeder, you’ll notice that the peek isn’t quite right. To correct this you have to cut a twenty degree bevel along both roof pieces so that they come together. The best tool to use for this step is the table saw. Set the degree at twenty and use the rip fence. You can use a power miter saw for this step as well. Keep in mind miter saws are normally only used for crosscutting.
Step 7: To better keep the bird seed in the bird feed we just need to cut six border pieces that’ll stand about one inch high. These can be made from scrap that you have available or make then from the picket fence that you have. For the short pieces, of which there are four of them, they only need to be about 1.5 inches. The two longer pieces are 4.25 inches long.
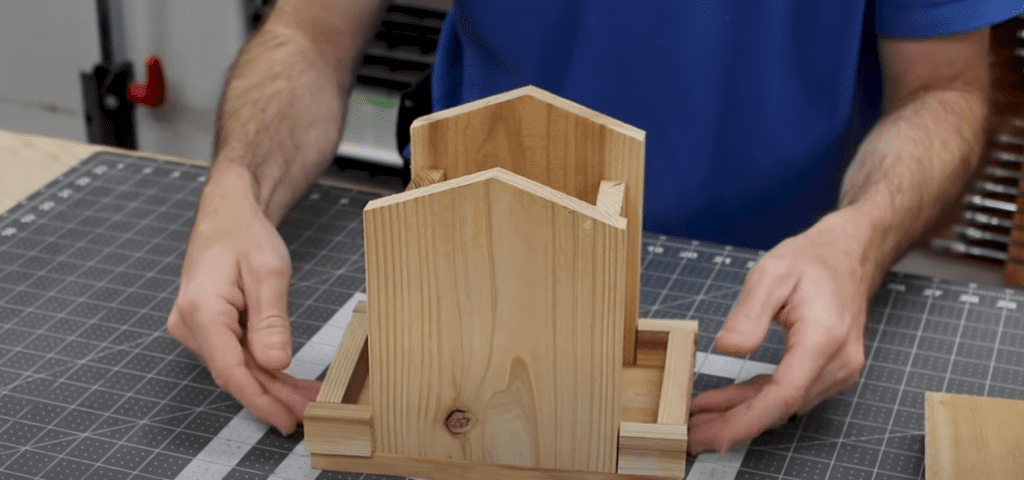
Step 8: Now that we have all the pieces cut for the bird feed, it’s just a matter of putting everything together. To start we’ll focus on securing the sides to the ends. To begin, measure up ¾” from the bottom edge of one of the ends and make a mark. Do the same thing to the opposite edge of that same board. Repeat the process for the other end.
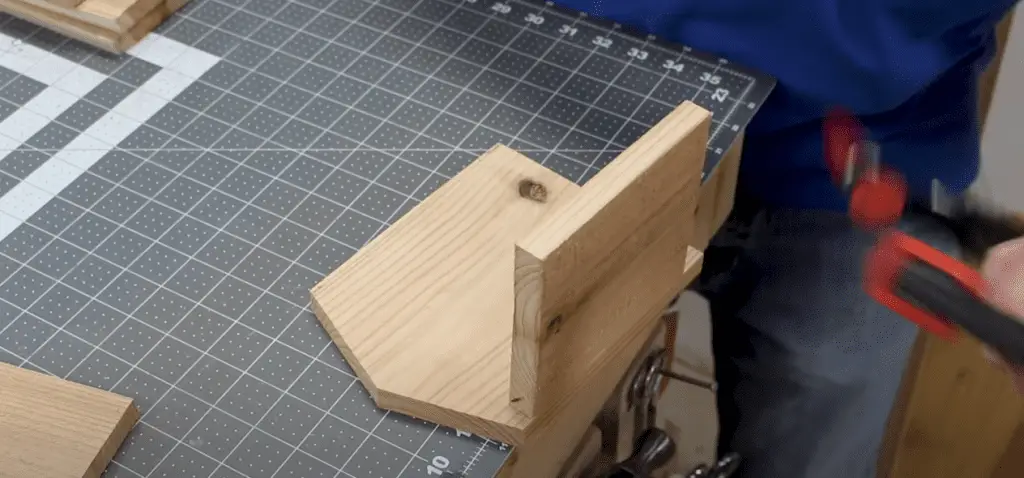
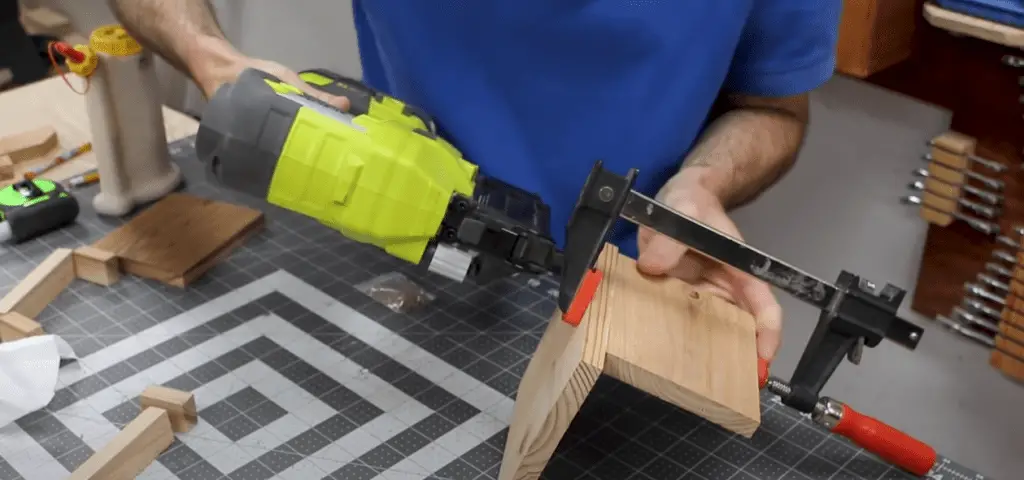
Step 9: The best way to secure the sides to the ends is to use a type 3 wood glue which is a waterproof type of glue. Take the glue and apply to the edge of one of the ends as well as the edge of one of the sides. Line the bottom edge of the side to the ¾” mark you made on the bird feeder end and clamp it down. From here you can either let the glue dry or to speed things along you can use finishing nails to secure the ends to the sides. If you prefer not to use any wood glue you don’t have.
In a previous article I showed how to make a cedar birdhouse without using any wood glue.
Step 10: Once the sides are connected to the ends, we need to secure the feeder to the base. To do this correctly you need to center the feeder on base as close as possible. It doesn’t have to be perfect but close enough to accommodate those little pieces we cut in step 7. Once you have it centered the way you want it, draw a line on either side so you know where to glue or nail or both when you secure the base to the feeder.
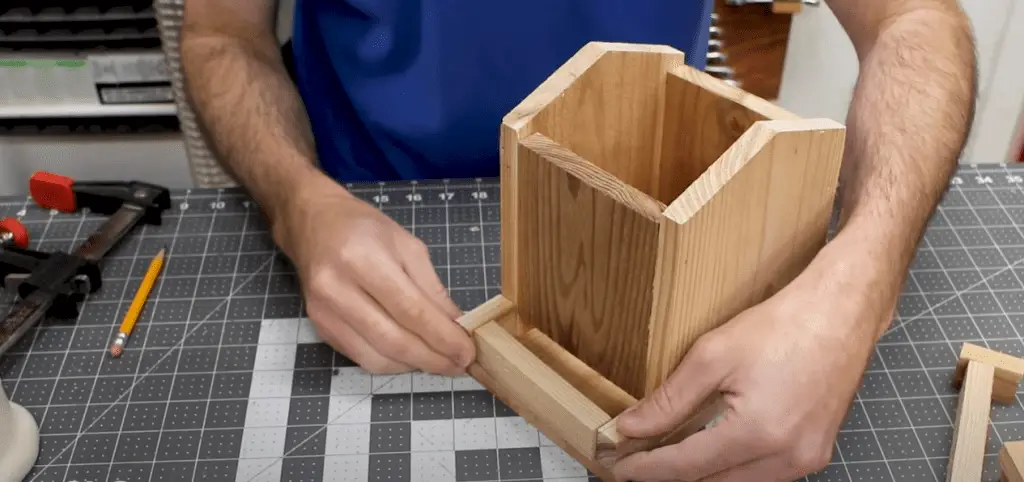
Step 11: Now that the bird feeder is secured to the base it’s time to secure the pieces that we cut in step 7 to the base of the bird feeder. Line the shorter pieces up to the edge of the base and secure with the wood glue or nails or both. Then put the longer piece between the two shorter pieces and attach in the same way. Repeat the process for the other end of the bird feeder.
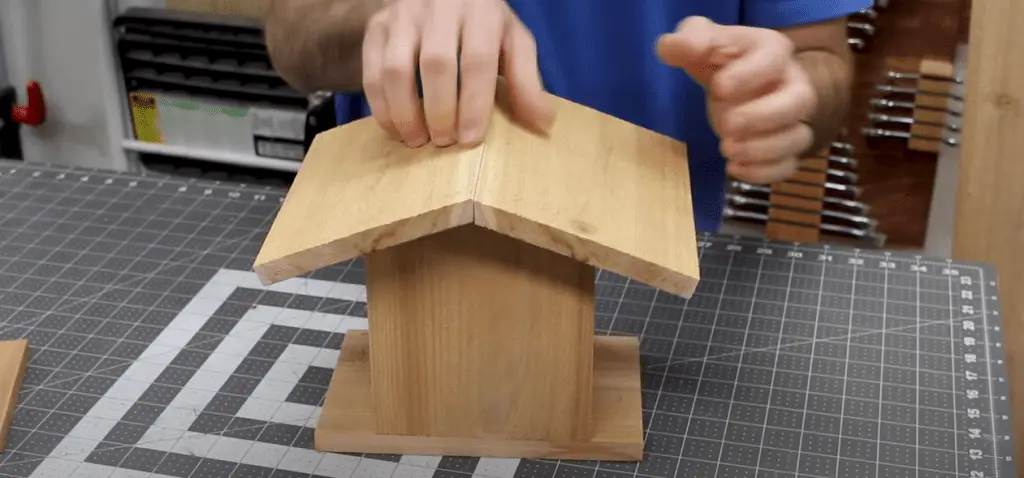
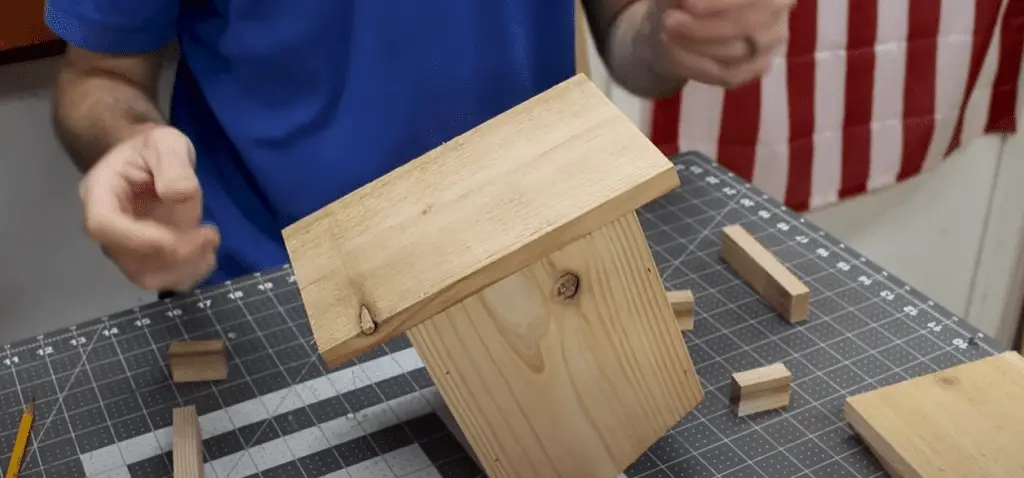
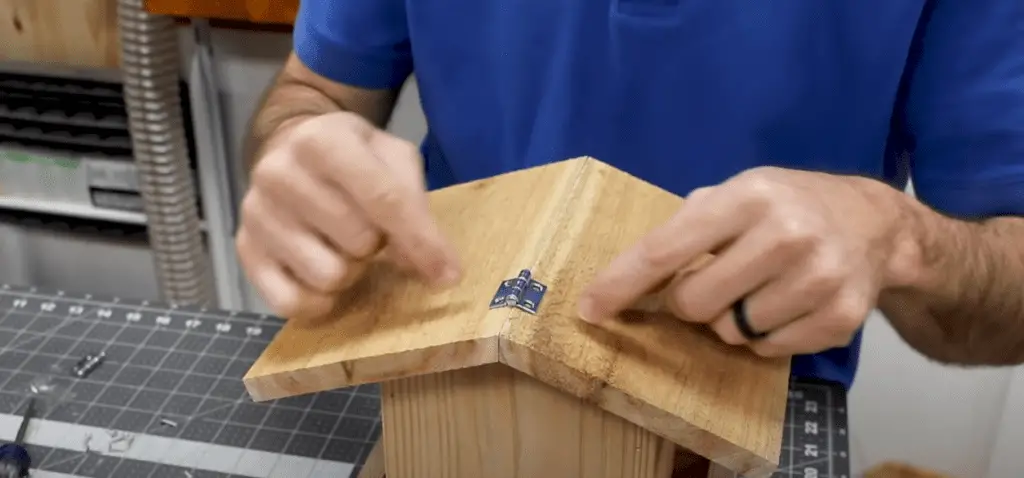
Step 12: The final step is to attach the roof pieces to the feeder. First start by centering one of the roof pieces on top of the feeder and secure with glue and or nails. The next part is to attach the two hinges to the roof piece you just got done nailing down. From here take the other roof piece and line it up with the other roof piece and secure that to the hinges. Now you have a roof that you raise so that the bird feeder can be filled with bird seed.
Step 13: To hang the bird feeder. Put one eye hook in both ends of the bird feeder and attach some galvanized wire to both hooks. You could also use a length of rope if you don’t want to use the wire. Now you just have to find a place to hang it.
Tips for Selecting The Best Location To Hang A Bird Feeder
When it comes to selecting the best location to hang a bird feeder, there are some important factors that need to be taken into consideration. Depending on the type of bird feeder you have, you should consider how high you hang it, how far away should you hang it from your house, and what is the best spot for hanging a bird feeder. By following these tips, you can ensure that your birds are well-fed and happy!
Resources

