Contents
Introduction: How to Build a Cedar Birdhouse In 12 Easy Steps
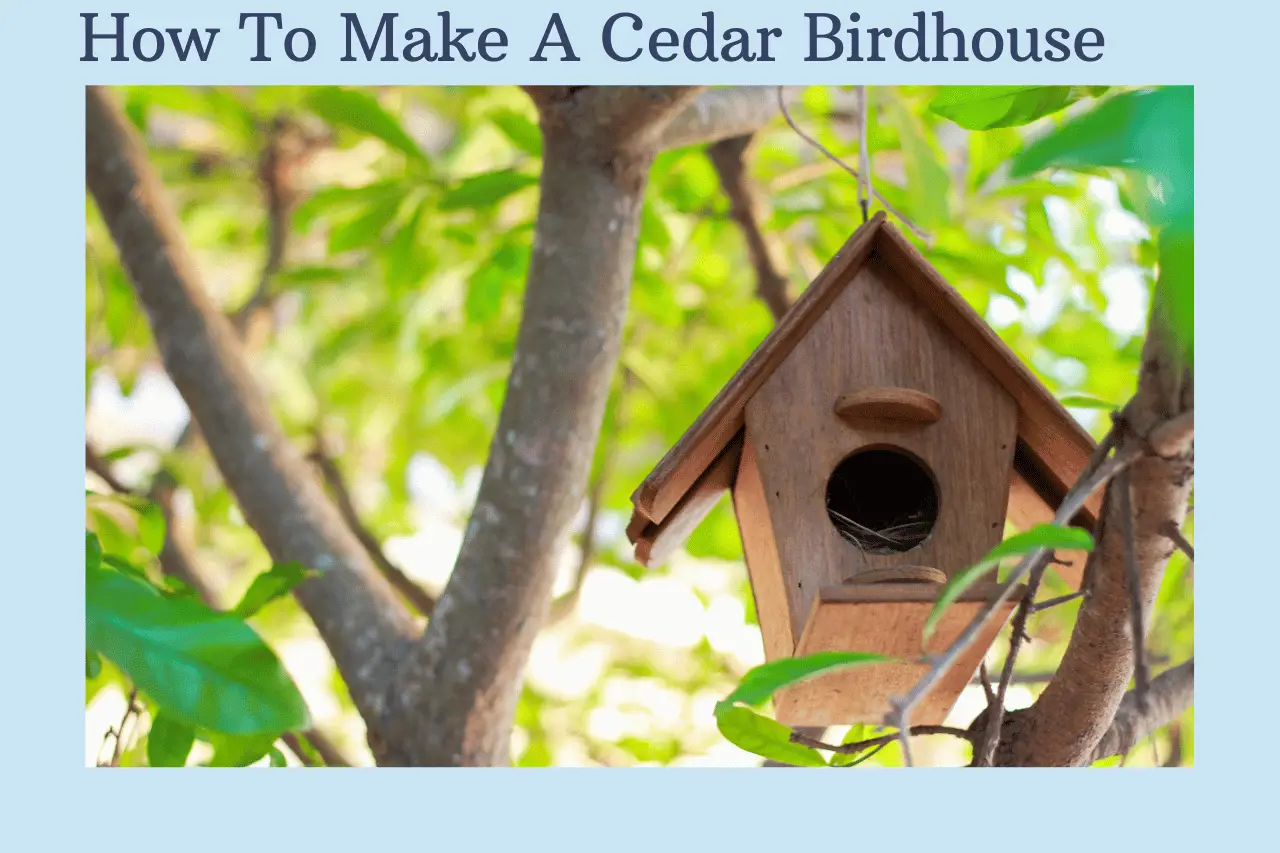
Making a cedar birdhouse is a great project to do with your children or if you’re just beginning. It’s also a good way to teach them about the importance of nature and conservation. When you build a birdhouse, you’re building something that’ll protect the birds from predators, while also providing them with food and shelter to raise their young.
This article will show you how to build a simple cedar birdhouse with a video included. There’s a material list below for this project to get you started on the right foot. The first step is to determine the size of the birdhouse that you want to build. I find that it’s easier to draw a rough sketch on paper to get an ideas of what the shape or dimensions the bird house will be.
What is a Bird House?
A bird house is a place where birds can live and build their nests to safely raise their young. They are often built at or near the tops of trees, poles, or other high structures.
Some people build bird houses for their own enjoyment. They may be designed to attract certain types of birds. Other people might use them as part of an environmental project to help with wildlife conservation.
Bird houses are usually made from wood, metal, plastic or some other material that can withstand the weather and provide a home for the birds. For this fun and easy wood project a cedar plank will be used. There’s a few reasons to consider when using this type of wood. The first reason is it’s insect resistant. It also won’t rot near as fast as some species of wood. The bonus reason, it just smells good.
Materials & Tools Required for Cedar Birdhouse Assembly
A cedar picket fence plank – 6’ long X 6” wide and ½” thick
Finishing nails around an inch long.
Tools:
Pencil,
Tape measure
Circular saw or a hand saw
Drill
Hammer
Optional Tools:
A speed square
A wood clamp or two
A forstner bit 1 and 3/8 inches or a hole saw
Steps For Building Your Cedar Birdhouse
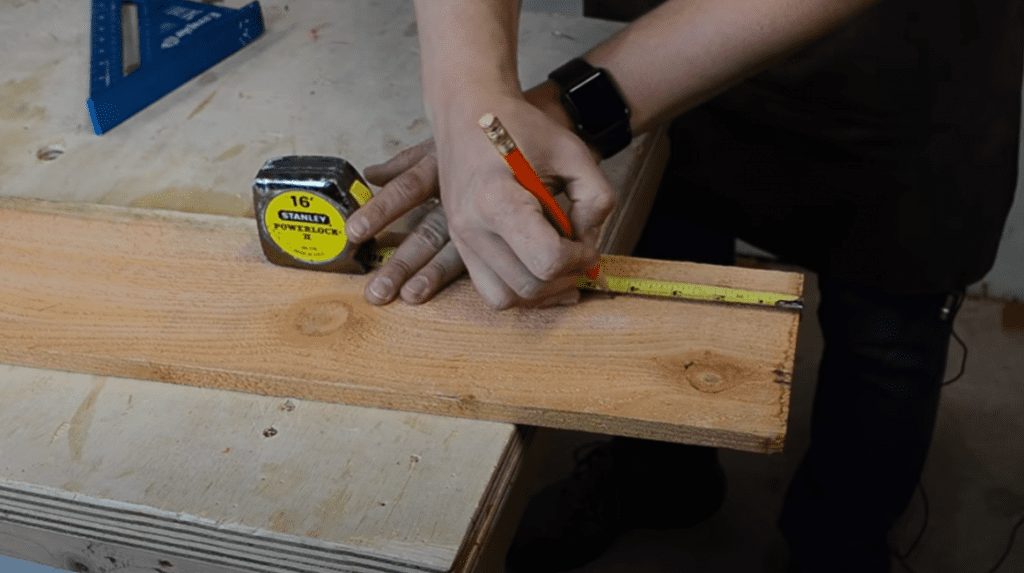
Step 1: Measure 4 and ¼ inches from the square end of the plank and mark with a pencil. Use the speed square and draw all the way across the plank. Use a wood clamp and clamp the plank down and cut with whatever saw you have.
Step 2: Take that piece that you just cut off and line it up with the end of the plank and draw a line and cut that piece. These two pieces make up the sides of the birdhouse.
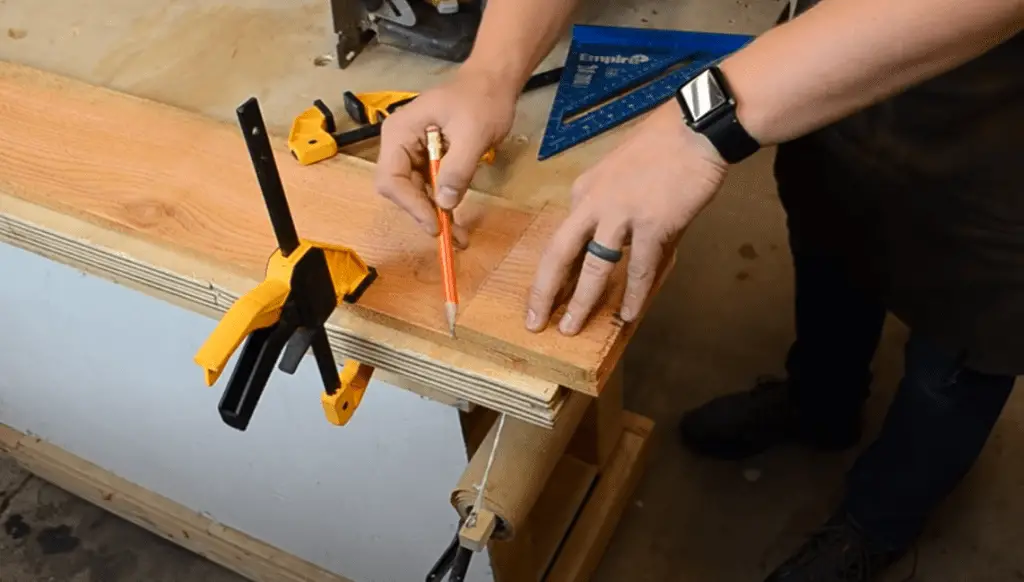
Step 3: We make 3 cuts that are 8 and ½ inches long. One of these will be the floor of the bird house and the other two will make the roof of the house. Use the same process by measuring 8 and ½ inches from the end. Clamp down and cut. Take that piece and line it up with the edge and draw a line all the way across the board and repeat the cut. Do the same process for the third board.
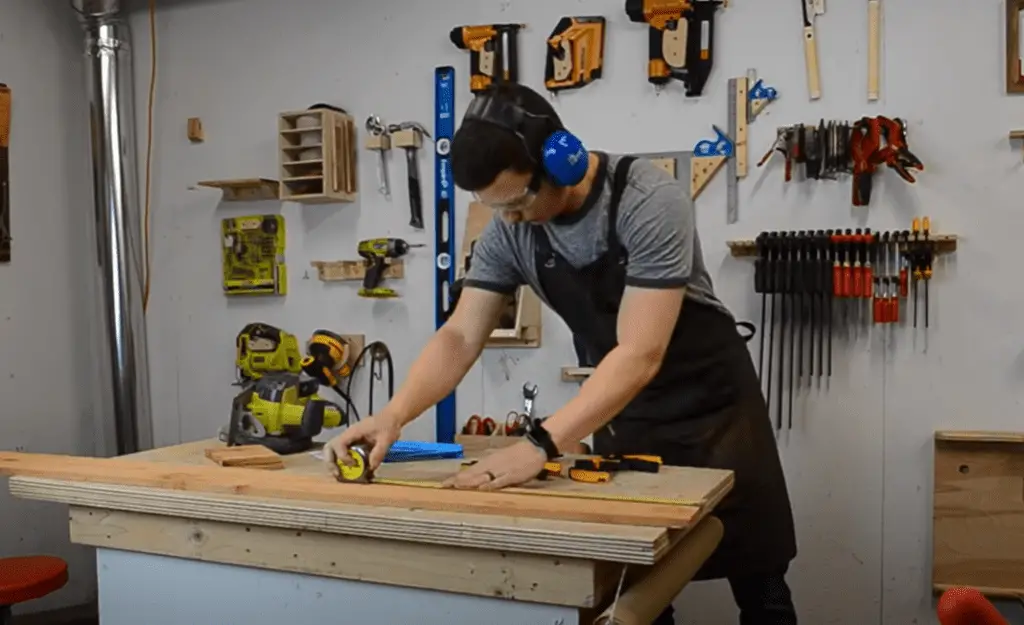
Step 4: This is where it get’s interesting because in this step there are two forty five degree angles. On the edge closest to you measure from the end four and one quarter inches and make a mark. Having a speed square makes this part a lot easier. Take the forty five angle of the square and line it up with the mark you made and draw a line.
If you don’t have a speed square what you can do is measure ten inches from the edge that’s furthest away from you and take a straight edge or ruler and connect the four and a quarter measurement and the ten inch measurement and draw a line that way which will give you the forty five degree angle.
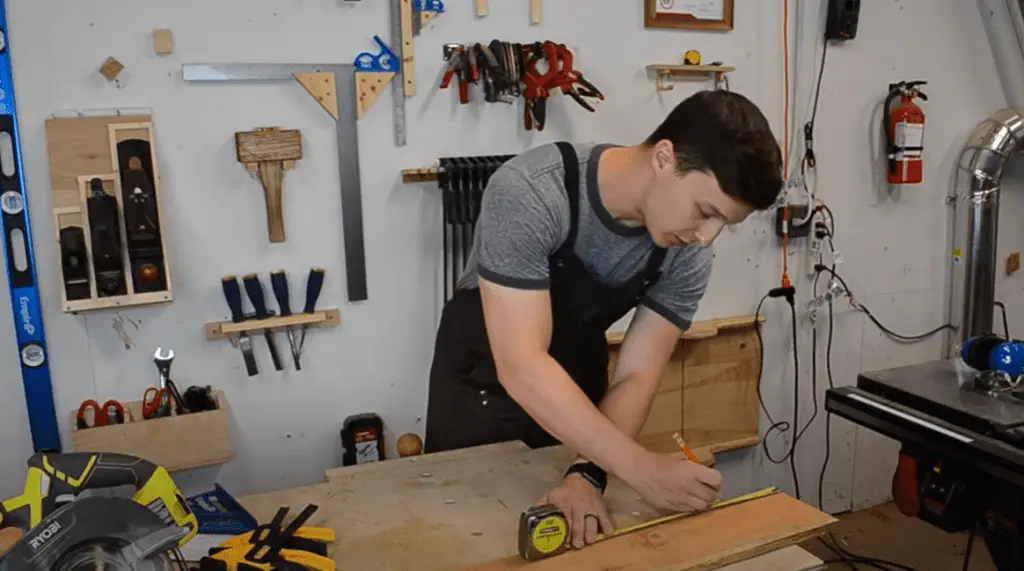
Step 5: On the edge that’s furthest away from you measure four and one quarter inches. Then take your speed square and draw that forty five degree angle and that should give you an “X”
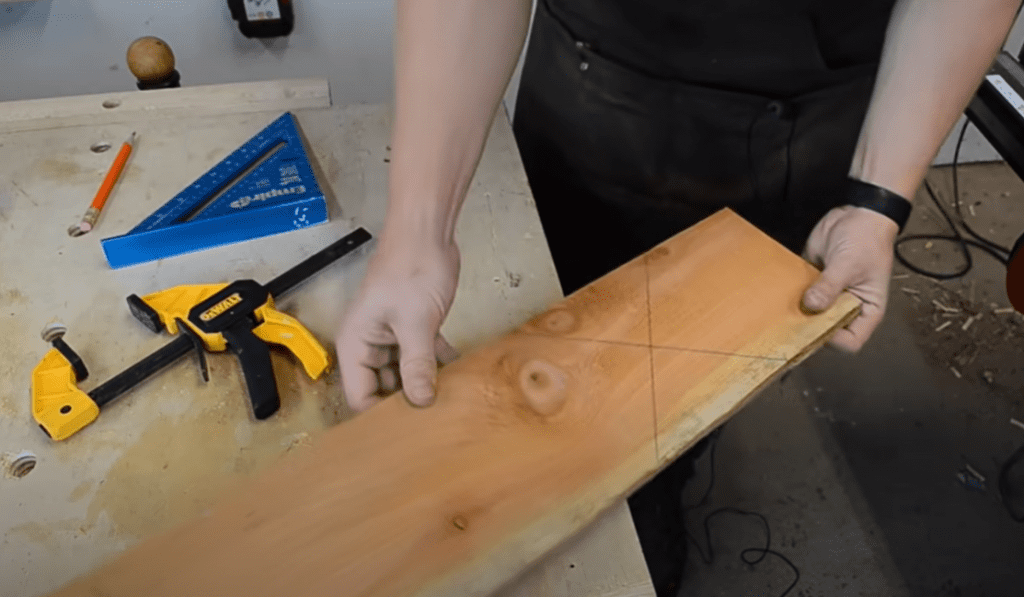
Step 6: Clamp your board down and cut out your “X”. This should only take three cuts. Once that’s done, take the small piece and line it up with the longer board, point to point and draw a line across the bottom and cut all the way across. This will give you both the front and back of the birdhouse.
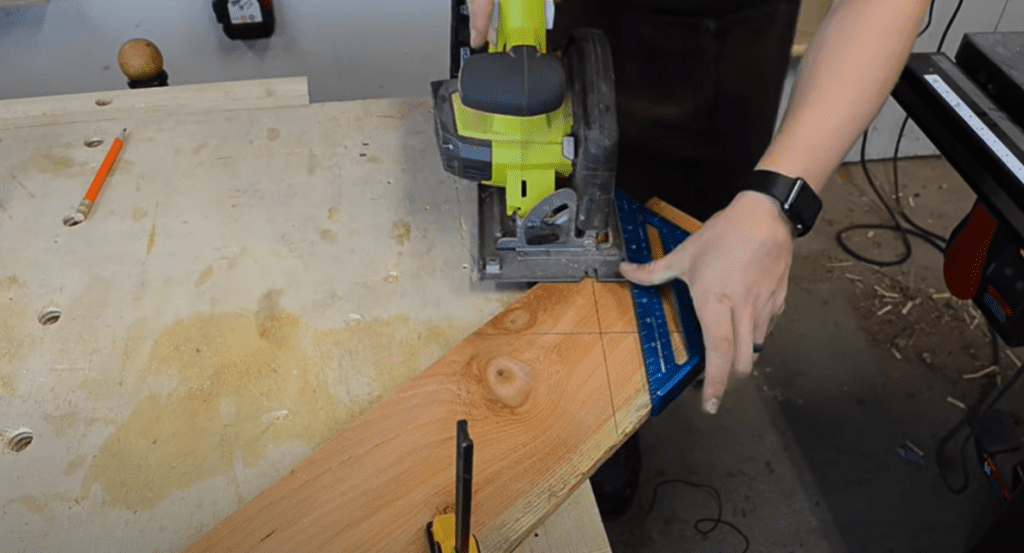
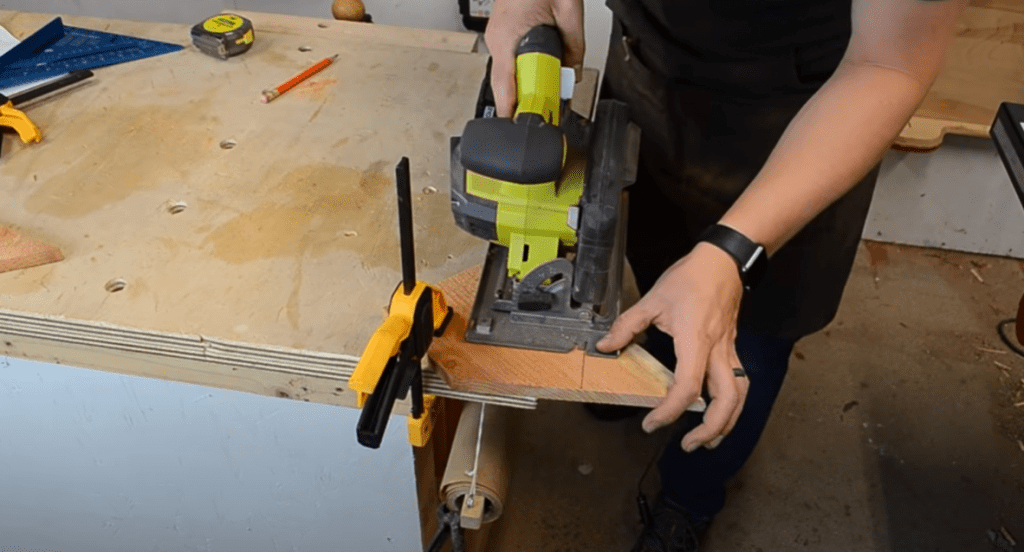
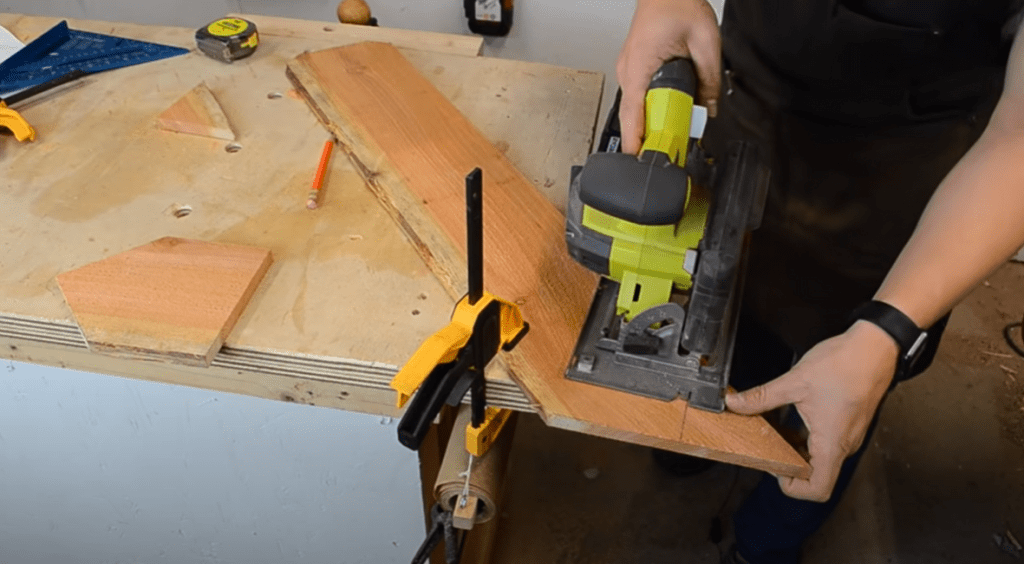
Step 7: In this step we’ll nail together the two pieces that make the roof of the house. Before we can do that there’s one more cut to make to make this part easier. Take one of the roof pieces and lay it flat on the bench face up. Take the other piece and align the long edge along the long face of the one that’s on the bench and draw a line. What we’re doing here is making both pieces even when they’re nailed together. Once the line is drawn take your saw and cut on the line.
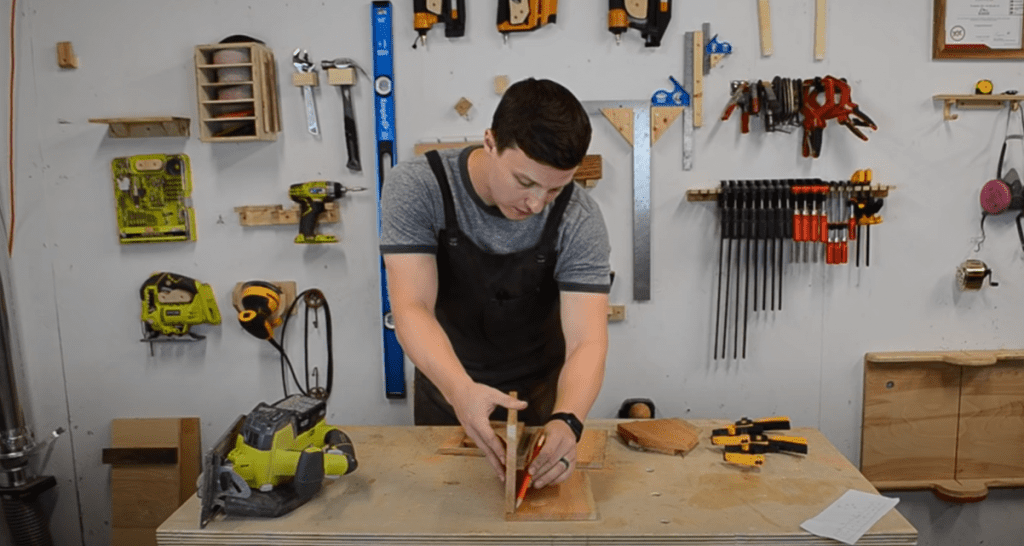
Step 8: In this step we have to drill a hole in the front of the house which is easy enough to do. Take your measuring tape and find the middle which should be 3 inches from the edge inward. It doesn’t have to be exact so if you’re a little off don’t stress over it. Once you have your mark, take a forstner bit or a whole saw that’s 1/38” wide and drill the hole.
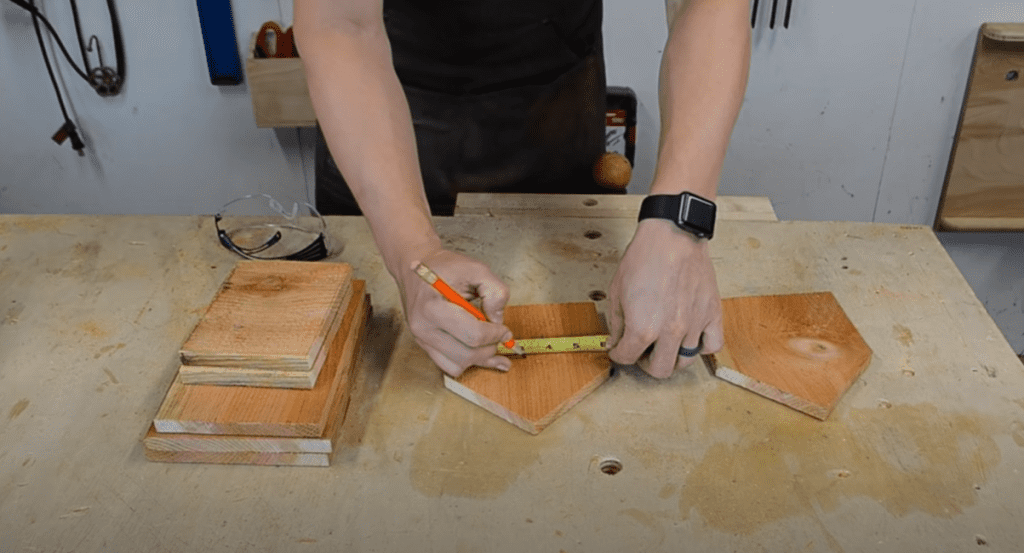
Step 9: Now comes the assembly part. Let’s start with the two pieces that make up the roof. Take the wider piece of the roof lay it down flat and tap in 3 nails along the length about half way through the wood. Take the narrower of the two pieces and butt it up against the inside of the wider piece and finish driving the nail in.
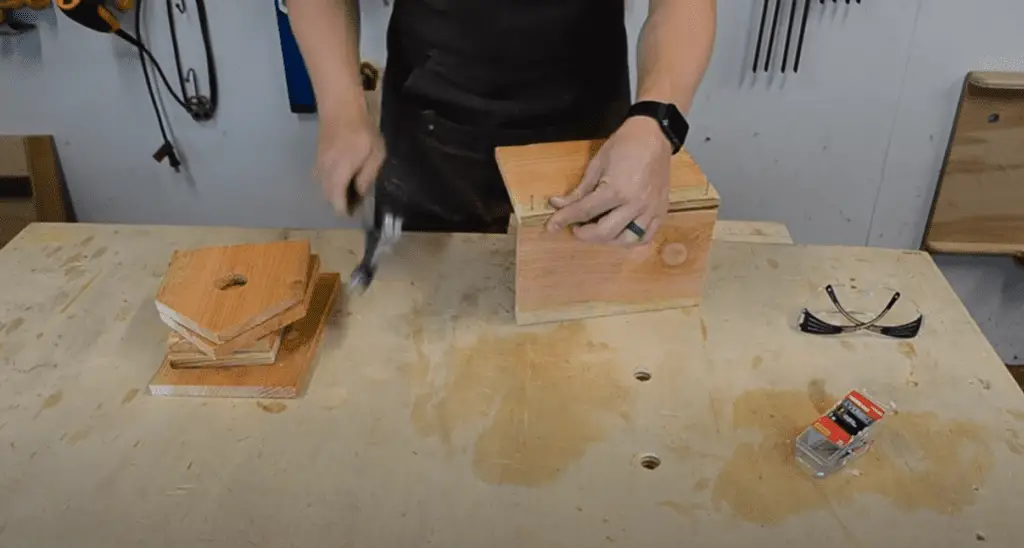
Step 10: What needs to be done here is to secure the sides to the back of the house. To begin, lay the back of the house down flat on the bench and start 3 nails along one side of the house and do the same with the other side with 3 nails. Take one of the sides of the birdhouse and nail it to the back. Then attach the other side to the back as you did before. Once you have this part all done all you have to do now is attach the front of the birdhouse to the two sides using the same number of nails.
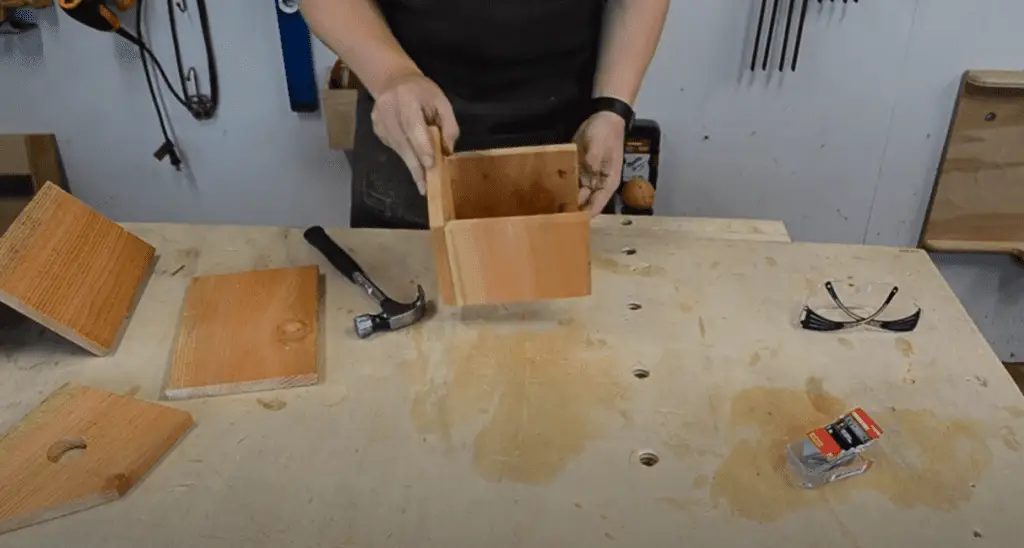
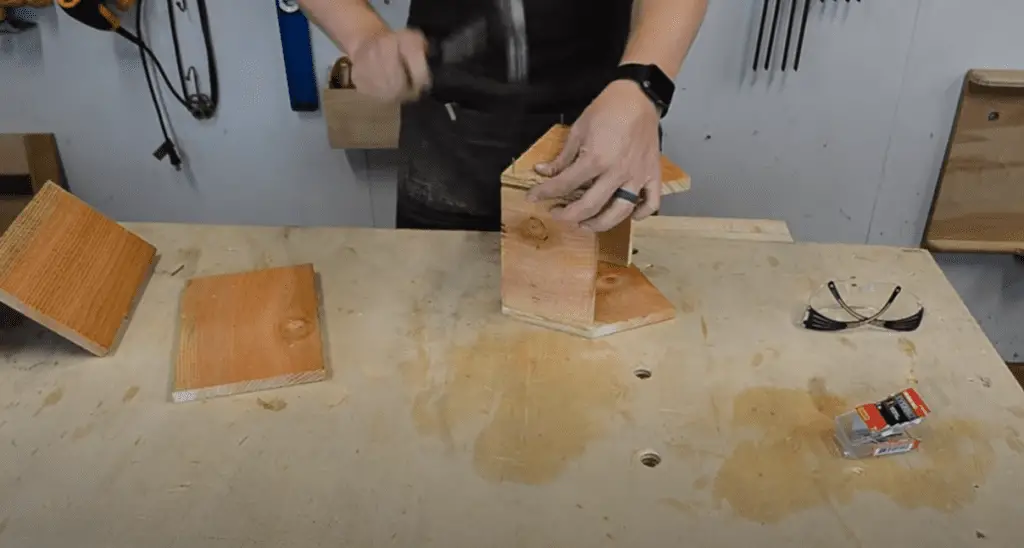
Step 11: Once the ends of the birdhouse is secured to the ends it’s time to nail the house down to the floor. The best way to do this is align the back of the house to the end of the floor. To make it easier start a few nails in the floor of the house before you nail it down to the house itself. Once you have those nails driven in then just start putting nails around the rest of the birdhouse.
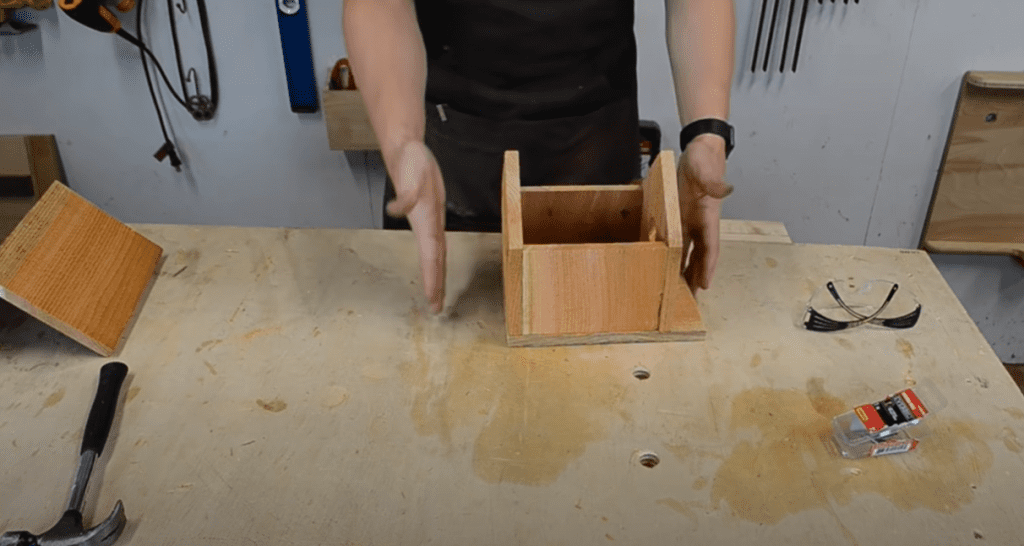
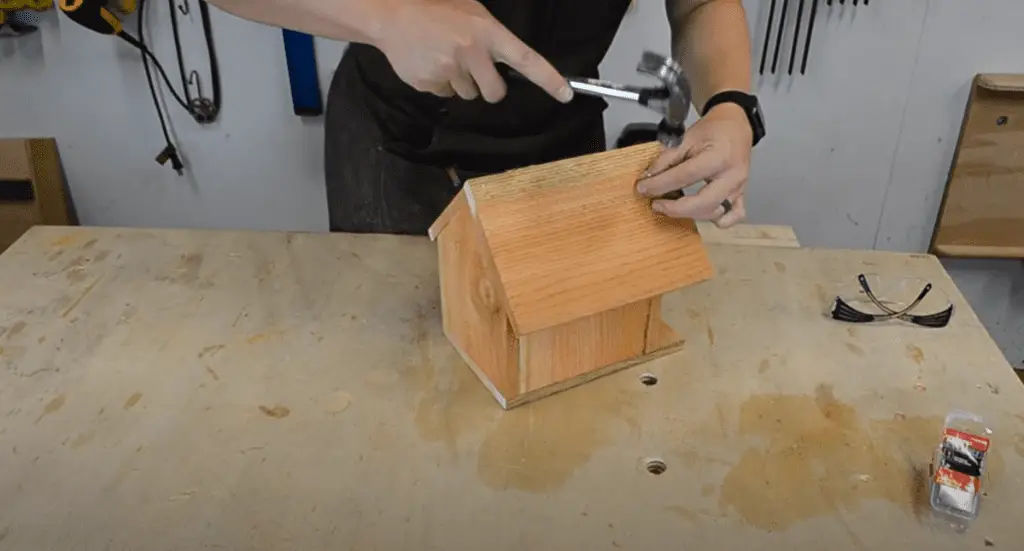
Step 12: The final step is to nail the roof to the house. Make sure that before you start nailing, align the back of the roof flush with the back of the birdhouse. Once you’re happy with that start nailing the roof down by making sure that each nail goes into the birdhouse. That’s it you’re done. To protect it even more you can stain or paint it so that it lasts longer or just hang it as is.
Should Birdhouse Be In The Sun Or Shade?
Birdhouses are a great way to attract birds to your garden, but it is important to make sure that they are placed in the right location. The answer to the question of whether a birdhouse should be in the sun or shade depends largely on the type of bird you want to attract. Some birds prefer sunny spots, while others prefer shady locations. Additionally, how high up a birdhouse should be placed also depends on which species you are trying to attract. Knowing what birds you want to draw in and understanding their preferences will help you determine the best spot for your birdhouse.
Additionally, if your birdhouse is made from wood or other materials that can be damaged by extreme temperatures, then you should consider placing it in a spot that receives partial shade throughout the day. This way, your feathered friends will have access to a safe and comfortable home without worrying about the elements wearing away their house.
How Can I Attract Birds To My New Birdhouse?
If you want to attract birds to your new birdhouse, you need to know what they like to eat. Understanding the dietary needs of your feathered friends is essential for providing them with a safe and comfortable home. By offering a variety of seeds, nuts, and fruits, you can attract a wide range of birds to your birdhouse. Additionally, providing water sources such as bird baths can also help bring more birds into your backyard. With the right combination of food and water sources, you can create an inviting environment that will draw in birds from all around!
Conclusion – Inspiration for Ideas on How to Recreate This Project at Home?
Birdhouses are a great way to add a bit of nature to your home. They can be used as decorations, or as a place for birds to nest in your backyard. Whether you’re looking for an easy DIY project or something more complex, there are plenty of ways to create birdhouses at home. From using recycled materials to adding intricate features, here are some ideas on how you can recreate this project at home.
Resources:

